So you’ve decided to convert that spare closet into a wine cellar. Great decision, what will it take to do this? Let’s break the preparation down into three steps.
1. Select a Cooling Unit
You’ll need to do this first, because the rough opening in your cellar will depend on the size of your cooling unit. CellarPro is the leading manufacturer, and offers many styles and sizes of cooling units from small units for a cabinet or small closet to large units for wine rooms. Here are tips to help you select the right cooling unit:
- Measure your cellar space and multiply the height × width × depth of the space to compute the cubic feet that the cooling unit will need to chill.
- If the amount of space is near the maximum cubic ft. of the unit you’ve selected, you should select the next size larger.
- If you live in an extremely hot or humid climate or your cellar is located where exterior walls receive direct sunlight, you may also want to consider the next larger size.
- Your cooling unit should be positioned at a location within 12″ of the top of your space that will allow adequate air circulation throughout your cellar.
- Cooling units need to vent to another room that has adequate ventilation or if you live in a mild climate you can vent through an outside wall.
- Most of our cooling units run very quietly, but if you want nearly silent operation, you may wish to consider one of our split systems.
2. Prepare the Space
To convert your spare closet into a wine cellar, first prepare the space to maintain proper humidity and temperature. If you’re handy with remodeling projects, you can do this yourself.
- Remove the sheetrock from the inside walls and ceiling of the closet. Remove any carpet or floor covering.
- Rough out the opening for the cooling unit. Most units will fit within standard wall stud spacing. Install adequate framing to hold the weight of the unit.
- Provide 110 volt, 15 amp dedicated electrical circuit for the cooling unit.
- Install a 6 mil plastic vapor barrier on the walls, ceiling and floor. If necessary wrap the vapor barrier around the stud framing leaving space for insulation.
- Insert R13 insulation between the studs for interior walls. Use R19 insulation for exterior walls and ceiling. If the ceiling is directly under the roof, R30 insulation is recommended. When finished, the insulation should be inside of the vapor barrier.
- Finish the walls with moisture resistant greenboard and PVA paint. Alternatively, you can finish the walls with cedar or redwood paneling.
- Install flooring. You can use vinyl, tile, slate or marble. Do not use carpeting in a cellar because the humidity will encourage mold growth.
- Install low-voltage or fluorescent lighting on a timer so that lights do not stay on for long periods of time and heat your cellar. If recessed can lights are used, be sure the integrity of the vapor barrier is maintained.
- Hang an exterior grade door with full weatherstripping and a door sweep.
- Install the cooling unit and plug it in.
3. Choose Your Racking
We have many styles of racking available to suit your tastes and budget. Call one of our IWA consultants at *800) 527-4071 x1 to order custom racking or receive a CAD drawing plan of your cellar. Or you can choose to create the racking yourself with our easy to assemble kits. When buying racking, consider:
- What kind of bottles will your cellar hold? Large format bottles and wood cases need different storage than standard 750ml. bottles.
- Will your cellar be purely functional or will it be used to showcase your wine collection? Display racks show off your wine but do not use the space efficiently.
- Accessories such as glassware racks and serving tables are nice additions, but a wine cellar is cold, so don’t expect to spend a lot of time inside your cellar.
- The kind of material and finish you choose will depend on the style and color scheme of your cellar and will determine the cost and capacity of the racking.
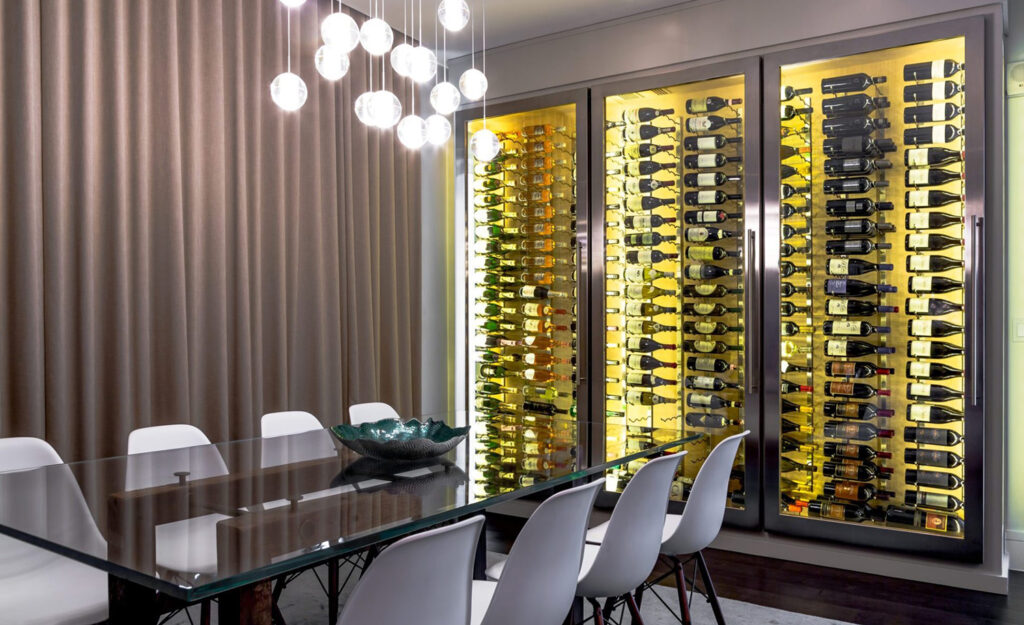
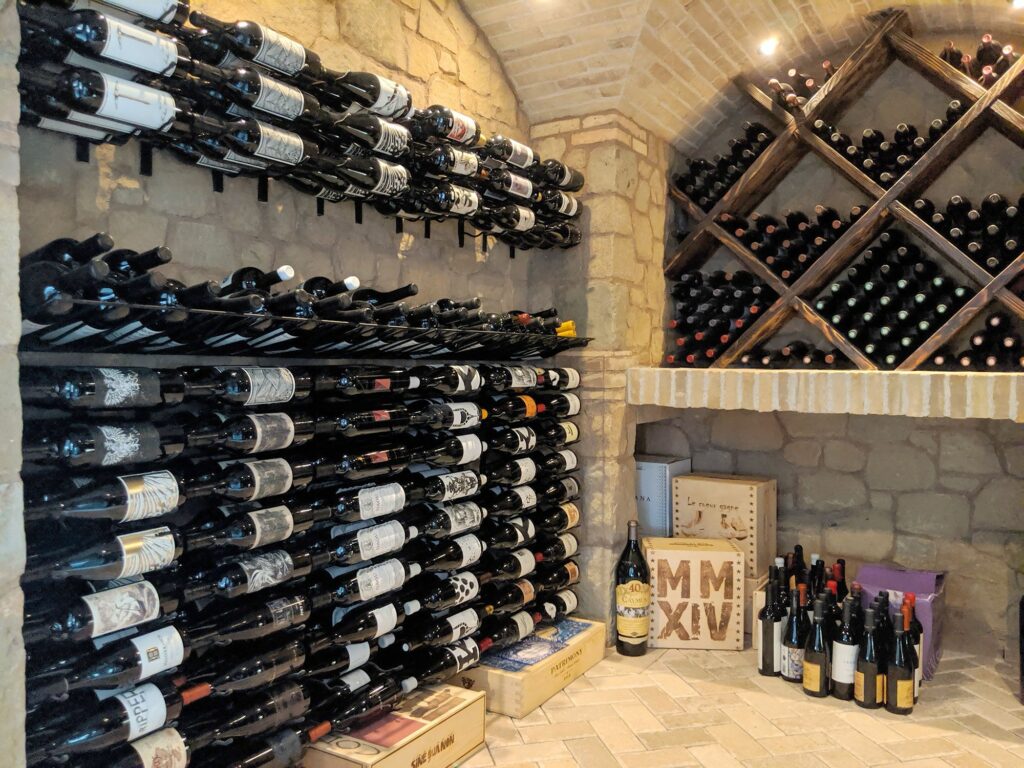
- Metal label forward display racks are unique and show off the labels, but will not have the same capacity as a wood rack.
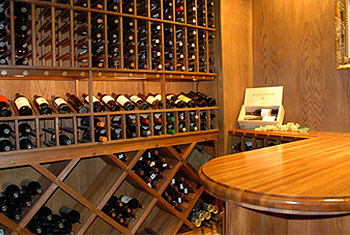
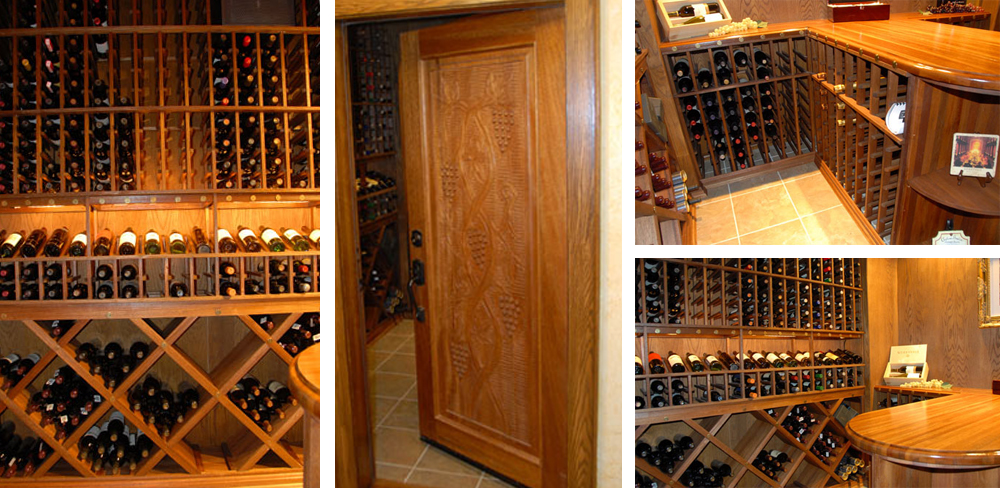
- Wood rack kits can be made of poplar, oak, redwood or mahogany and can be unfinished, or finished and stained in various colors.
- Custom racking can also be made from exotic woods such as black walnut, cherry, maple or purple heart to enhance the visual appeal of your cellar.
With a little planning and some help from one of our knowledgeable IWA consultants, you too will be on your way to having the wine cellar of your dreams. In our next post, we’ll show you one of our favorite cellar conversions along with some photos and stories from our customers. Visit the IWA Design Center to learn more.


After read this post I think that it is more helpful post to those persons who want to build wine rack in their houses because according to me tips provided by him is great and also very helpful.
– Custom Wine Racks
One accessory that can greatly help a wine cellar build is to add wooden wine crates. They help maintain prized wine bottles in a dark and cool environment, and reduce moisture. On top of that, they accent dark hardwood racks beautifully!
If your looking for original wine boxes or crates for your own wine cellar decoration or storage projects visit Winepine